
 Save
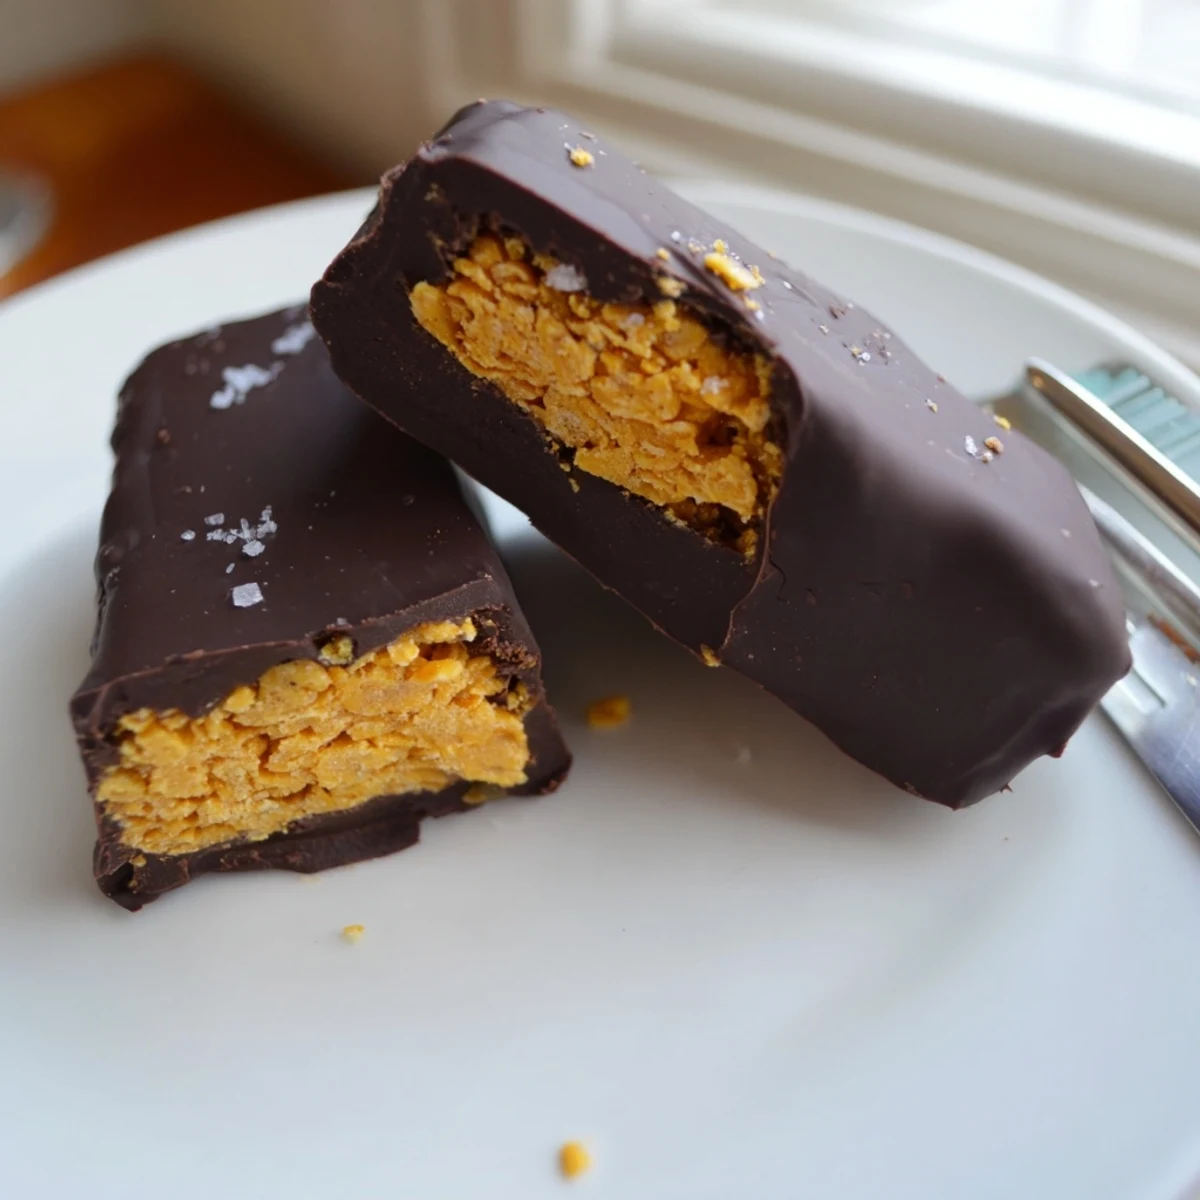
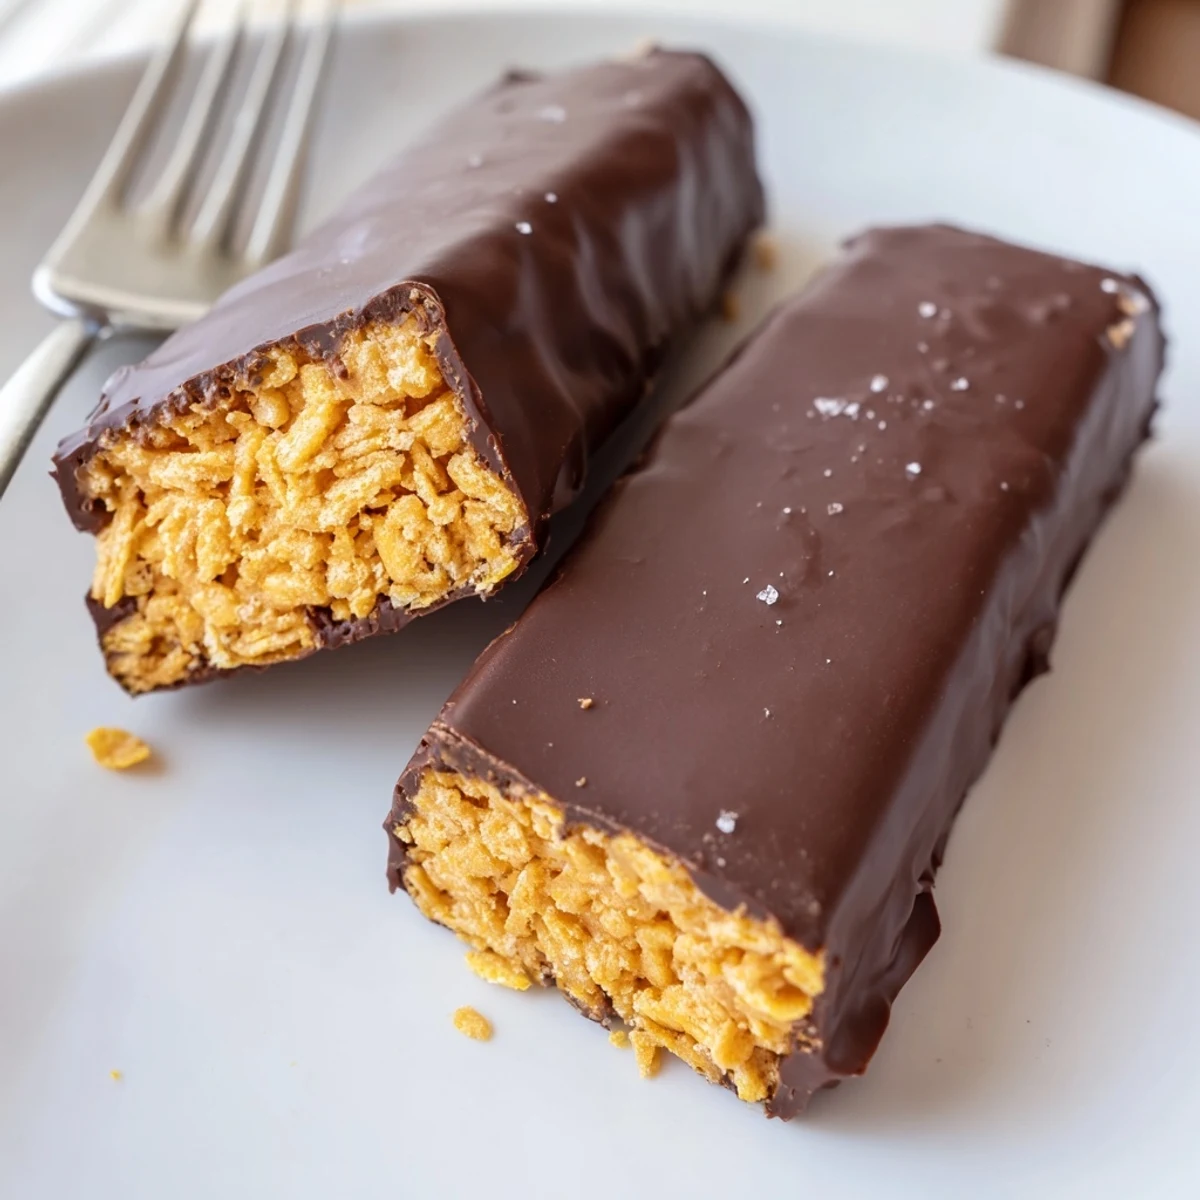
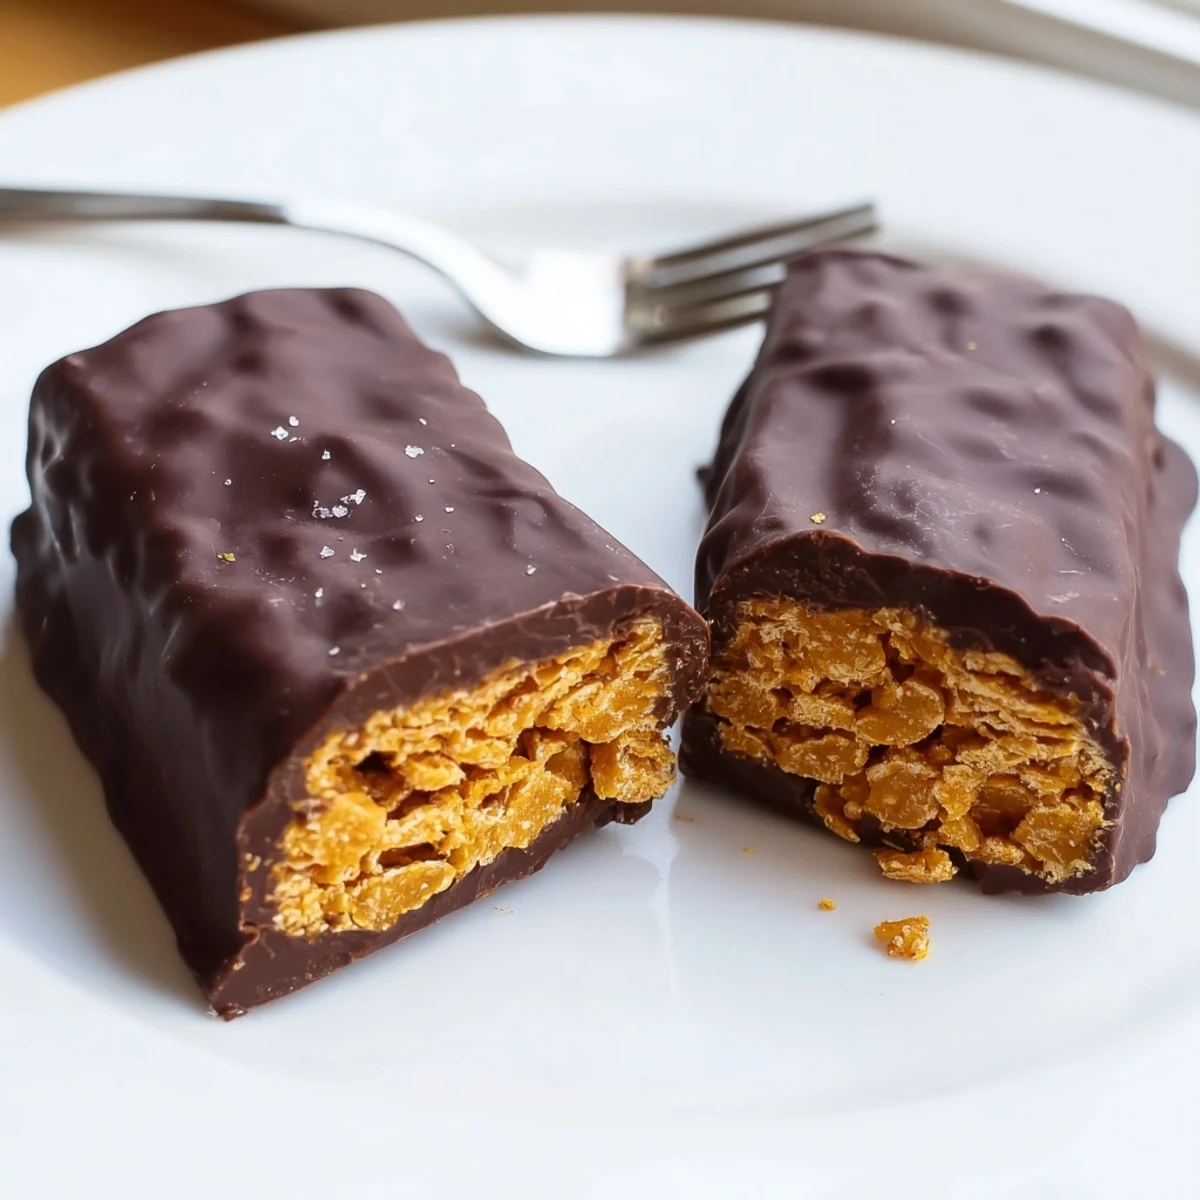
Save These healthy homemade Butterfingers deliver everything you love about the classic candy bar with a wholesome twist. A crunchy peanut butter and corn flake center is pressed into a pan, chilled until firm, then cut into bars and dunked in melted dark chocolate.
The entire process takes about 30 minutes of hands-on time, plus chilling. You only need a saucepan, a baking dish, and parchment paper—no candy thermometer or special equipment required.
Each bar comes in at 180 calories with 11g of fat and 4g of protein, making them a smarter choice for satisfying your sweet tooth. They're naturally vegetarian and gluten-free when you use certified corn flakes, and easily made vegan with maple syrup and dairy-free chocolate.
The candy aisle at the grocery store always tempts me, but one evening after reading the ingredient list on a Butterfinger wrapper, I decided right there in the aisle that I could do better at home. My kitchen counter was already stocked with peanut butter and a forgotten box of corn flakes, so the experiment began that same night. What emerged from the freezer an hour later was shockingly close to the real thing, with a shattering crunch and a glossy chocolate shell that made me question why I ever bought the packaged version. These bars have since become my go-to contribution for every potluck and movie night.
I brought a batch of these to a friends Halloween party last October and watched a room full of adults abandon a bowl of name brand candy to swarm the modest plate I had set on the counter. Someone actually asked me which specialty shop I had ordered them from, and the look on their face when I said they were made with corn flakes was worth every minute of effort.
Ingredients
- Natural creamy peanut butter (1 cup): Use the kind with just peanuts and salt on the label because the oil content is what binds everything together without making the layer greasy.
- Pure maple syrup or honey (1/2 cup): Maple syrup keeps the bars vegan and adds a subtle caramel note, while honey brings a warmer sweetness, so pick based on what matters most to you.
- Corn flakes, lightly crushed (2 cups): Do not crush them into dust because you want irregular shards that mimic that classic flaky interior, so gentle hands with a rolling pin works best.
- Dark chocolate chips (1 1/2 cups, at least 70% cacao): Higher cacao percentage balances the sweetness of the peanut butter layer and gives you that clean professional snap when you bite in.
- Coconut oil (1 tablespoon): This small addition thins the chocolate just enough for smooth dipping and helps it set with a beautiful shine rather than a dull matte finish.
Instructions
- Prep the pan:
- Line your baking dish with parchment paper, leaving overhang on two sides so you can lift the entire slab out cleanly later.
- Melt and marry:
- Stir the peanut butter and maple syrup over low heat until they melt into one smooth golden pool that smells like the inside of a candy shop.
- Fold in the crunch:
- Gently tumble the crushed corn flakes into the warm mixture with a spatula, coating every flake without crushing them further.
- Press and freeze:
- Transfer the mixture to the lined dish and press it down firmly with the back of a spoon so the bars hold together when you slice them, then freeze for about 25 minutes.
- Melt the chocolate:
- Set a heatproof bowl over simmering water and stir the chocolate chips with the coconut oil until the mixture becomes a glossy river with no lumps remaining.
- Cut and dip:
- Lift the frozen slab from the dish, slice it into 12 bars, and dip each one into the chocolate using a fork, tapping off the excess before setting them on parchment.
- Chill to set:
- Slide the tray into the refrigerator for at least 20 minutes until the chocolate shell hardens completely and you hear a clean tap when you flick it with your fingernail.
 Save
Save The moment that made this recipe permanent in my rotation was catching my partner sneaking a third bar from the refrigerator at midnight, thinking no one was watching. That quiet kitchen theft told me everything I needed to know about whether these were worth making again.
Storing Your Candy Bars
These bars keep beautifully in an airtight container in the refrigerator for up to a week, though in my experience they rarely last that long. If you want to stretch them further, freeze the individually wrapped bars for up to three months and pull one out whenever the candy aisle temptation strikes.
Swaps and Substitutions
Almond butter or sunflower seed butter work seamlessly in place of peanut butter if allergies are a concern, though the flavor shifts slightly toward something more earthy. For a fully vegan batch, stick with maple syrup and double check that your chocolate chips contain no dairy.
A Few Final Thoughts
Sprinkle a tiny pinch of flaky sea salt on top of each bar right after dipping for a flavor trick that makes people close their eyes when they take a bite. Keep your workspace cool while dipping because warm hands plus warm chocolate equals a mess. Trust the chilling times and resist the urge to shortcut them.
- Corn flakes go stale quickly once the bag is open, so use fresh ones for maximum crunch.
- A plastic bench scraper is the best tool for pressing the mixture evenly into the corners of the pan.
- Always let the bars sit at room temperature for about five minutes before eating so the peanut butter layer softens just enough for the perfect texture.
 Save
Save Homemade candy is one of those small kitchen victories that feels disproportionately rewarding for how little effort it requires. Keep a batch in your freezer and you will never be caught without something sweet to share.
Recipe Questions & Answers
- → Can I make these Butterfingers vegan?
-
Yes, simply use maple syrup instead of honey and choose a dairy-free dark chocolate. Most dark chocolate chips above 70% cacao are naturally vegan, but always check the label for milk fat or other dairy ingredients.
- → How should I store the finished bars?
-
Keep the bars in an airtight container in the refrigerator for up to one week. For longer storage, freeze them for up to three months. Let frozen bars thaw in the fridge for about 30 minutes before enjoying.
- → Can I substitute the peanut butter with something else?
-
Absolutely. Almond butter, sunflower seed butter, or cashew butter all work well as replacements. Just make sure whichever nut or seed butter you choose has a smooth, creamy consistency for the best texture.
- → Why are my corn flakes getting too crushed when mixing?
-
Fold the corn flakes in gently using a spatula rather than stirring vigorously. You want some larger pieces intact for that signature crunch. Lightly crushing them beforehand gives you more control over the final texture.
- → Do I need to temper the chocolate for the coating?
-
No tempering required. Adding coconut oil to the melted chocolate keeps it smooth and gives a nice snap when chilled. The bars need to stay refrigerated anyway, so a simple melt-and-dip approach works perfectly fine.
- → Can I use milk chocolate instead of dark chocolate?
-
You can, though dark chocolate (70% cacao or higher) balances the sweetness of the peanut butter filling better. Milk chocolate will make the bars sweeter overall and adds more dairy, so they would no longer be vegan-friendly.