 Save
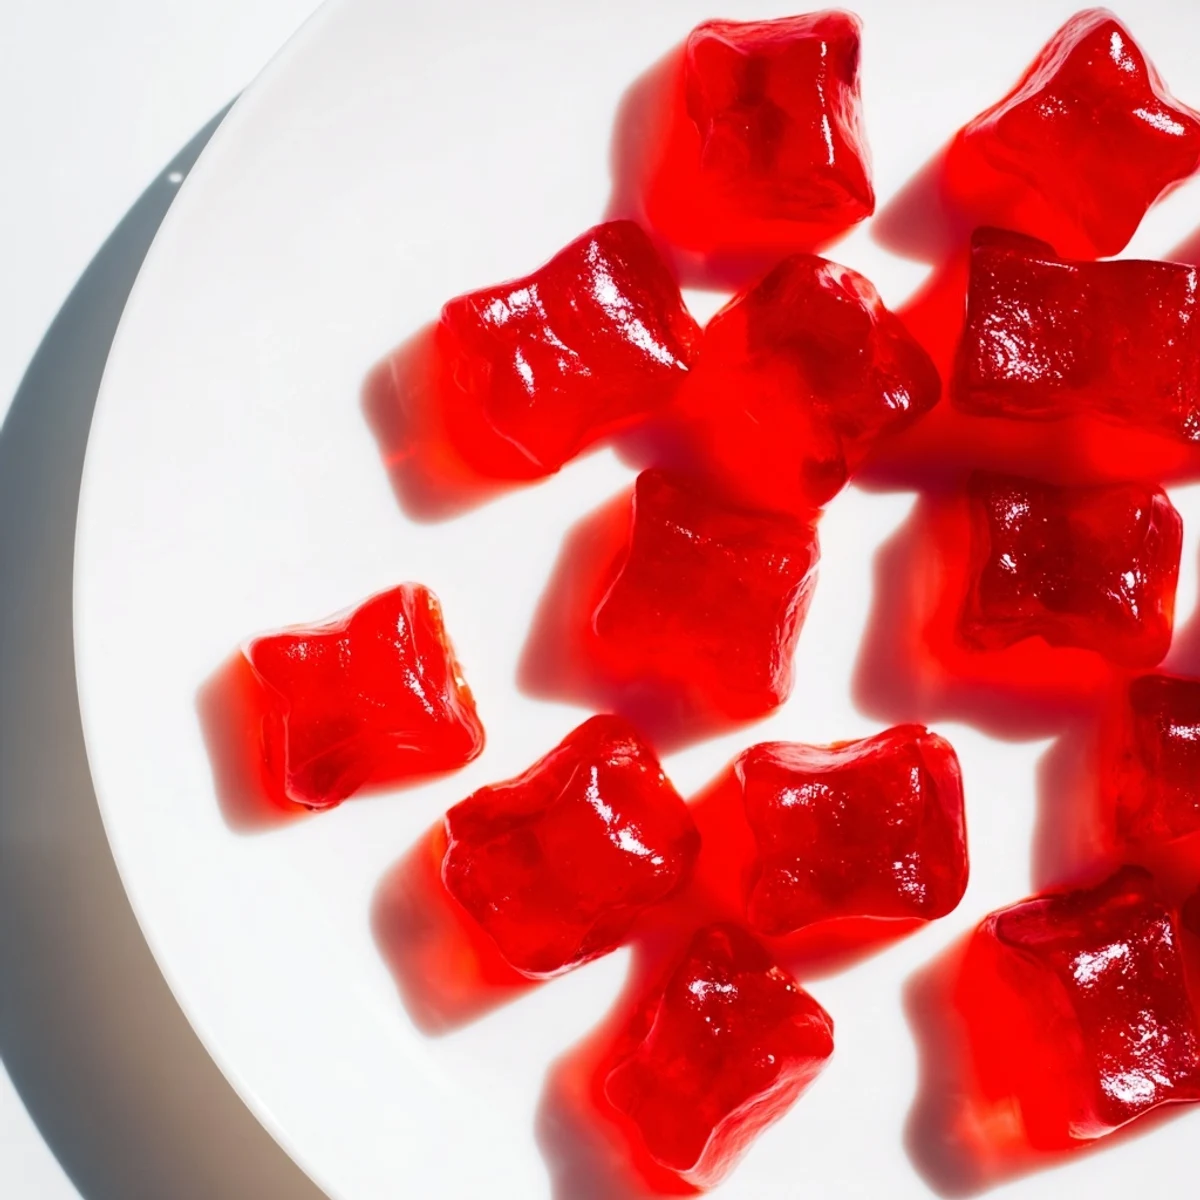
Save These homemade strawberry gummies deliver perfectly chewy texture and intense natural berry flavor using just fresh strawberries, honey, and gelatin. The simple process involves blending fruit, blooming gelatin, and gently heating until smooth. After 2 hours of chilling, you'll have about 40 bite-sized treats that stay fresh for a week. Swap gelatin for agar-agar to make them vegan, adjust sweetness based on strawberry ripeness, and customize with natural food coloring if desired. Each serving provides only 35 calories with 2 grams of protein, making them a guilt-free snack option.
The first time I made these gummies, my kitchen smelled like a strawberry patch in July. My kids came wandering in from the backyard, mouths stained from rogue berries they'd snacked on earlier, asking what I was up to. When I popped that first batch out of the silicone molds, their eyes went huge and yours will too when you see how beautifully glossy they turn out.
Last summer, I brought a container of these to our neighborhood block party. Within fifteen minutes, three different neighbors had cornered me demanding the recipe, and the plate of traditional brownies sat largely ignored on the dessert table.
Ingredients
- Fresh strawberries: Pick the ripest ones you can find, they should smell fragrant and give slightly to gentle pressure
- Honey or maple syrup: Start with two tablespoons and taste your puree, you can always add more but you cannot take sweetness away
- Lemon juice: This brightens the strawberry flavor and helps the natural fruit colors stay vibrant
- Unflavored gelatin powder: Bloom it properly in cold water or you will end up with grainy gummies that refuse to set
- Cold water: Use cold water straight from the tap, warm water will make the gelatin clump up immediately
Instructions
- Blend your berries:
- Toss those halved strawberries and lemon juice into your blender and let it run until everything is completely smooth, scraping down the sides once to catch any stubborn chunks.
- Warm the fruit puree:
- Pour your vibrant red mixture into a small saucepan, stir in your sweetener, and let it warm gently over medium low heat for just a few minutes until it feels barely warm to the touch.
- Bloom the gelatin:
- While the fruit heats up, sprinkle your gelatin over cold water in a small bowl and let it sit for 3 to 5 minutes until it transforms into a thick, wobbly mass.
- Mix everything together:
- Whisk that bloomed gelatin into your warm strawberry puree and keep stirring constantly for about two minutes until every bit dissolves and you have a silky smooth mixture.
- Set your gummies:
- Carefully pour the liquid into your silicone molds or a lined baking dish, then pop them in the fridge for at least two hours until they are completely firm to the touch.
- Cut and enjoy:
- Gently remove your gummies from the molds or slice your set slab into bite sized squares, then store them in an airtight container where they will keep perfectly for a week.
 Save
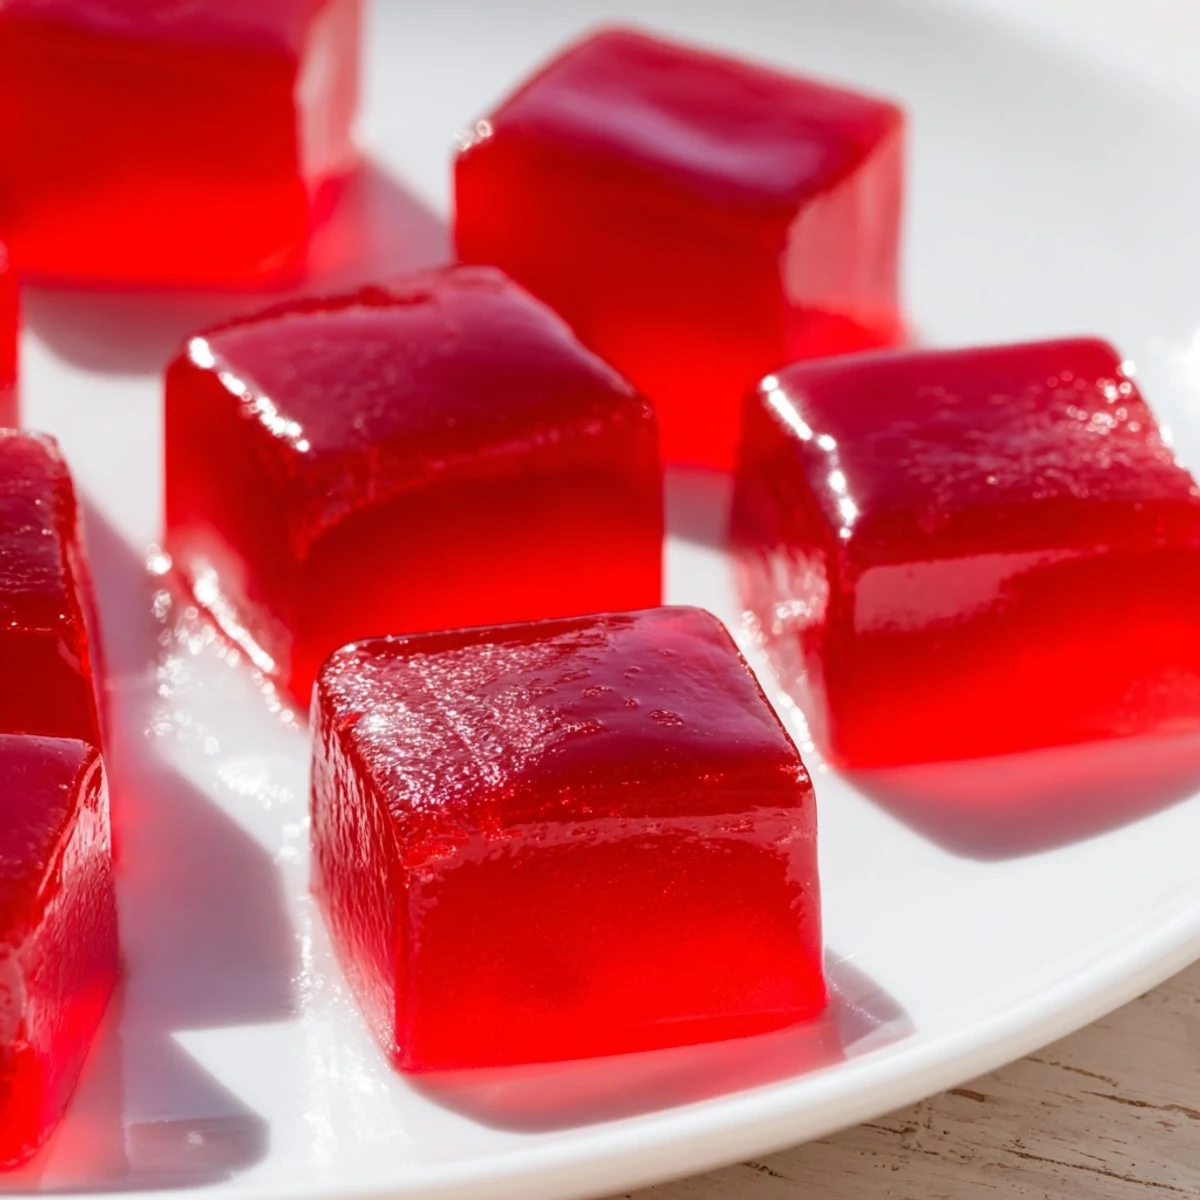
Save My daughter now requests these for her school birthday treats instead of cupcakes, and her teacher actually thanked me for sending something that does not leave the kids bouncing off the walls by 2 PM.
Getting The Right Texture
The key to that perfect bounce is making sure your gelatin blooms completely before you heat anything. I once rushed this step and ended up with a weirdly separated mixture that taught me to slow down and trust the process.
Flavor Variations To Try
While strawberry is our go-to, I have experimented with mixed berries, peach, and even mango. Each fruit brings its own sweetness level, so taste your puree before adding any sweetener.
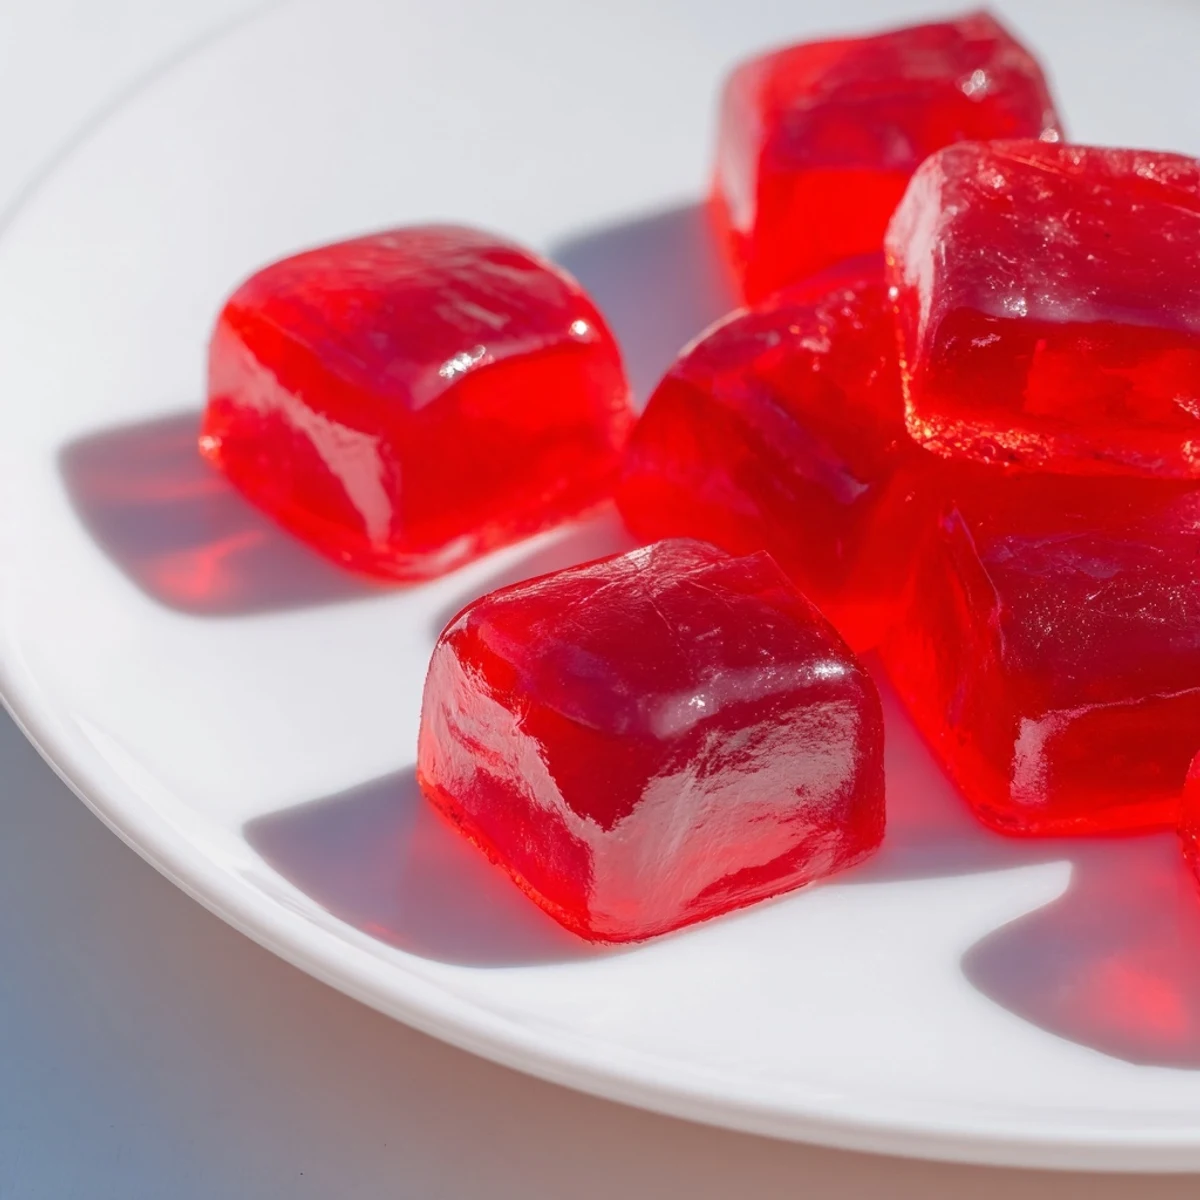
Storage And Serving Ideas
These gummies develop the best texture after a full night in the fridge. Pack them in small containers for lunchboxes or serve them as an elegant after-dinner treat that feels special without being heavy.
- Try dusting them with a tiny bit of powdered sugar for a finished look
- Layer different fruit flavors in clear silicone molds for a stunning effect
- Keep them away from warm spots or they will start melting within an hour
 Save
Save There is something deeply satisfying about making candy from scratch, especially when it involves fresh fruit and ingredients you can actually pronounce.
Recipe Questions & Answers
- → How long do homemade strawberry gummies last?
-
Store your gummies in an airtight container in the refrigerator for up to one week. The cold temperature maintains their texture and prevents them from becoming too soft or sticky.
- → Can I make these gummies vegan?
-
Yes! Replace the unflavored gelatin powder with agar-agar powder following the package instructions for the equivalent setting amount. The texture will be slightly firmer but still delicious.
- → What's the best way to remove gummies from molds?
-
Let the gummies set completely in the refrigerator for at least 2 hours. Gently push from the bottom of each silicone mold cavity, or if using a baking dish, lift the entire sheet and cut into pieces with a greased knife.
- → Can I use frozen strawberries instead of fresh?
-
Absolutely! Thaw frozen strawberries completely and drain any excess liquid before blending. You may need slightly less honey since frozen berries can sometimes be more watery and less sweet than fresh ones.
- → Why did my gummies turn out too soft?
-
Soft gummies usually mean the gelatin wasn't fully dissolved or the mixture wasn't heated enough. Ensure you whisk the bloomed gelatin until completely smooth and dissolved. Also, make sure not to boil the mixture as this can break down the gelatin's setting properties.
- → Can I add other fruit flavors?
-
Certainly! This method works beautifully with raspberries, blueberries, mangoes, or peaches. Adjust the honey amount based on the fruit's natural sweetness and blend until completely smooth before following the same heating and setting process.