 Save
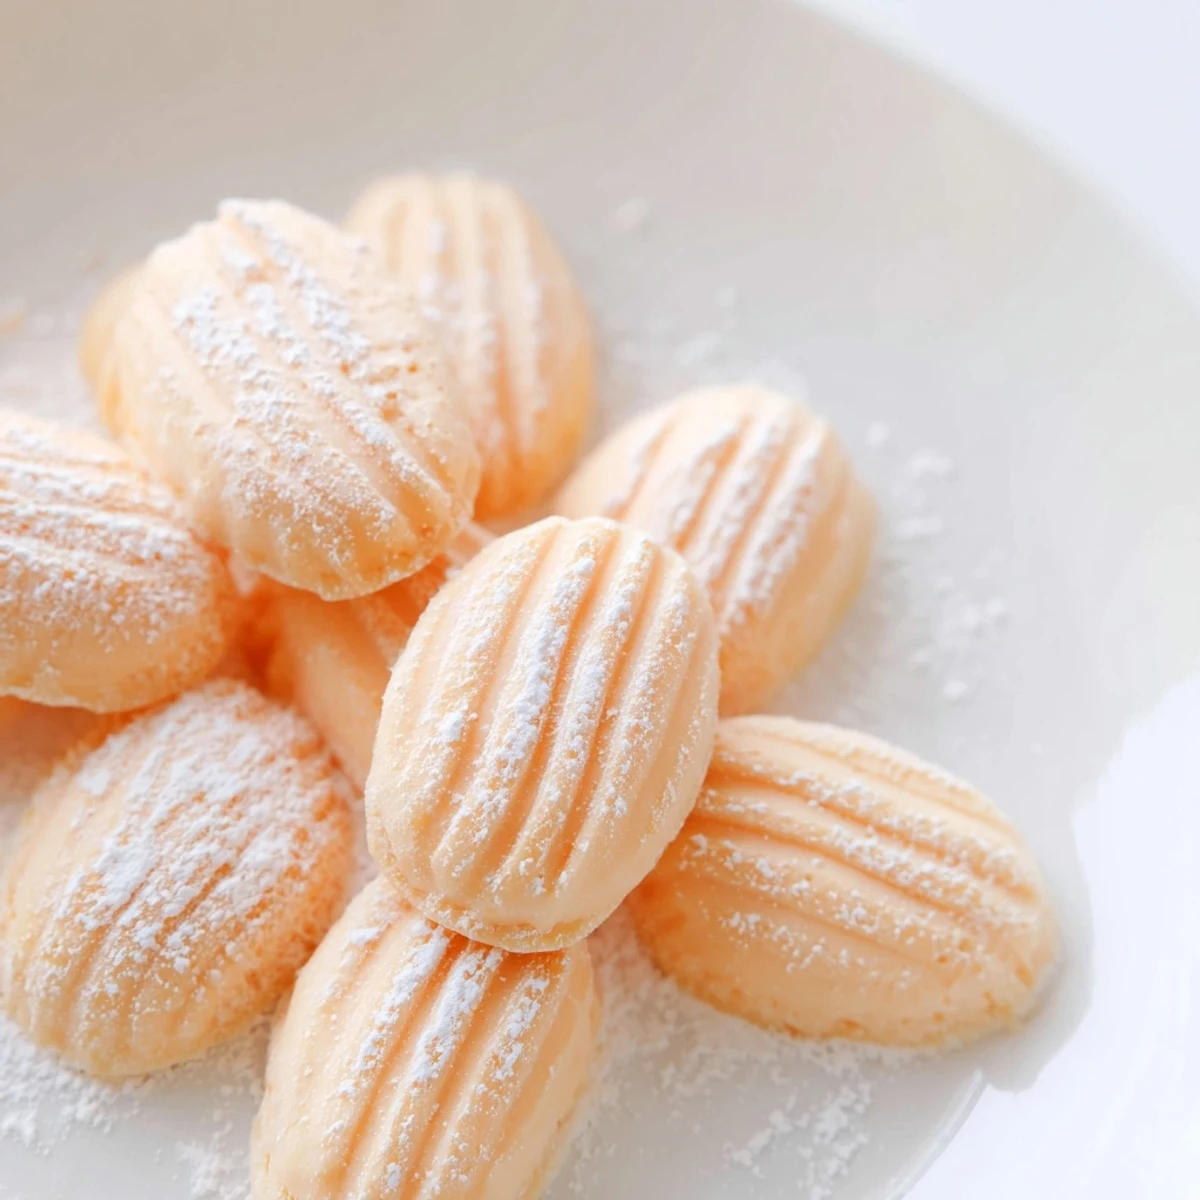
Save These delightful orange cream cheese mints combine the smooth richness of cream cheese and butter with vibrant citrus flavor. The dough comes together quickly with just a few pantry staples, then chills into firm, bite-sized confections that literally melt on your tongue.
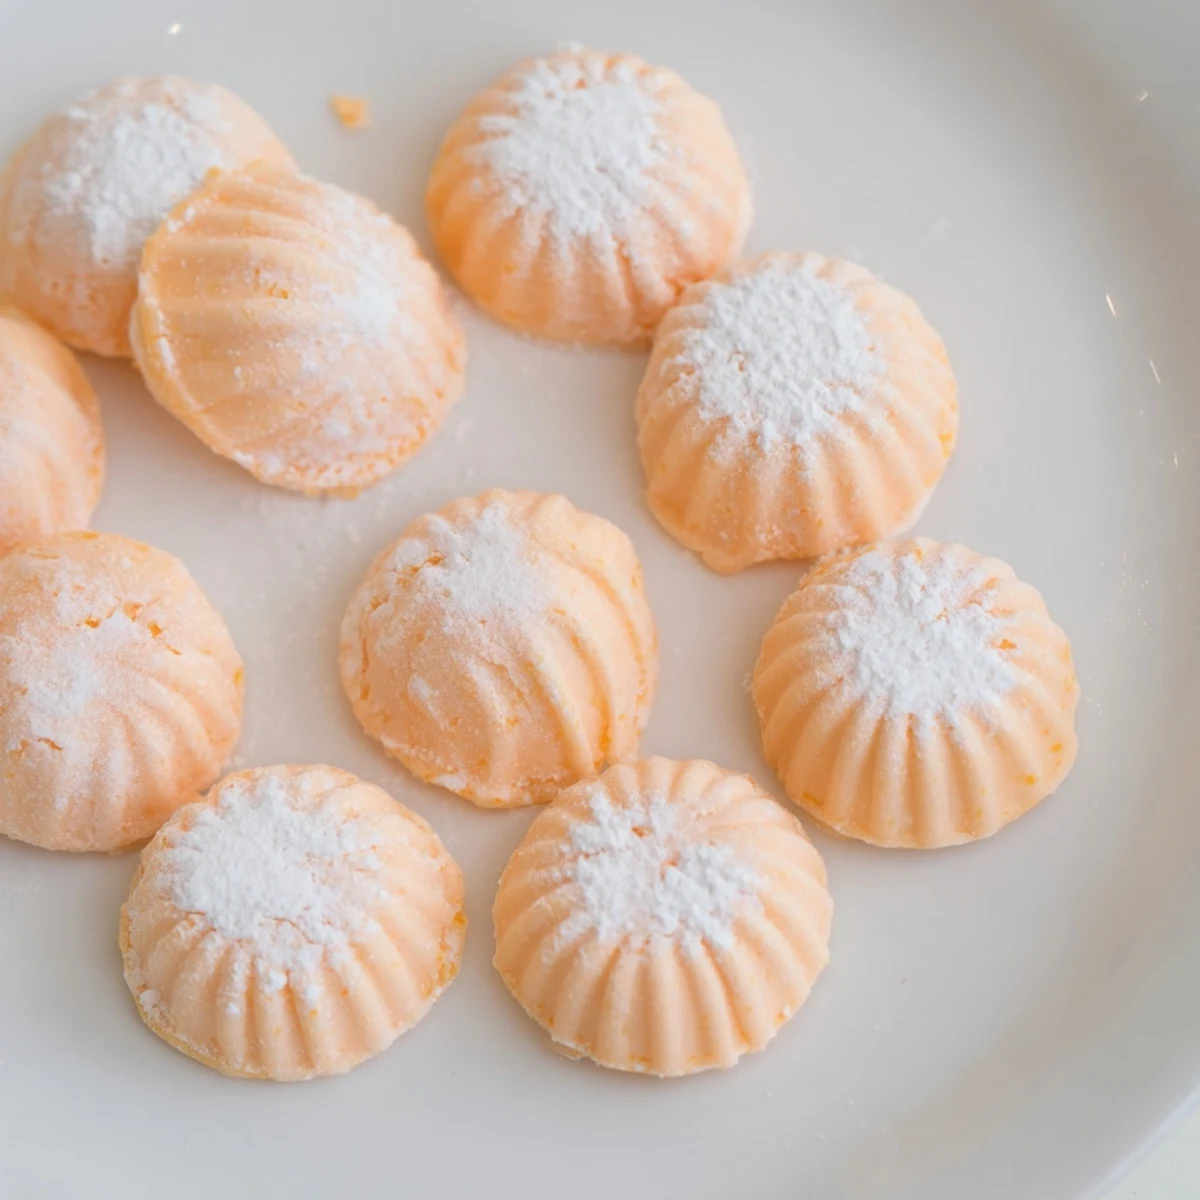
Perfect for dessert tables, wedding favors, or holiday gift plates, these naturally gluten-free treats can be customized with food coloring to match any celebration. The process is simple: beat the creamy base, infuse with orange extract, shape into small rounds, and chill until set.
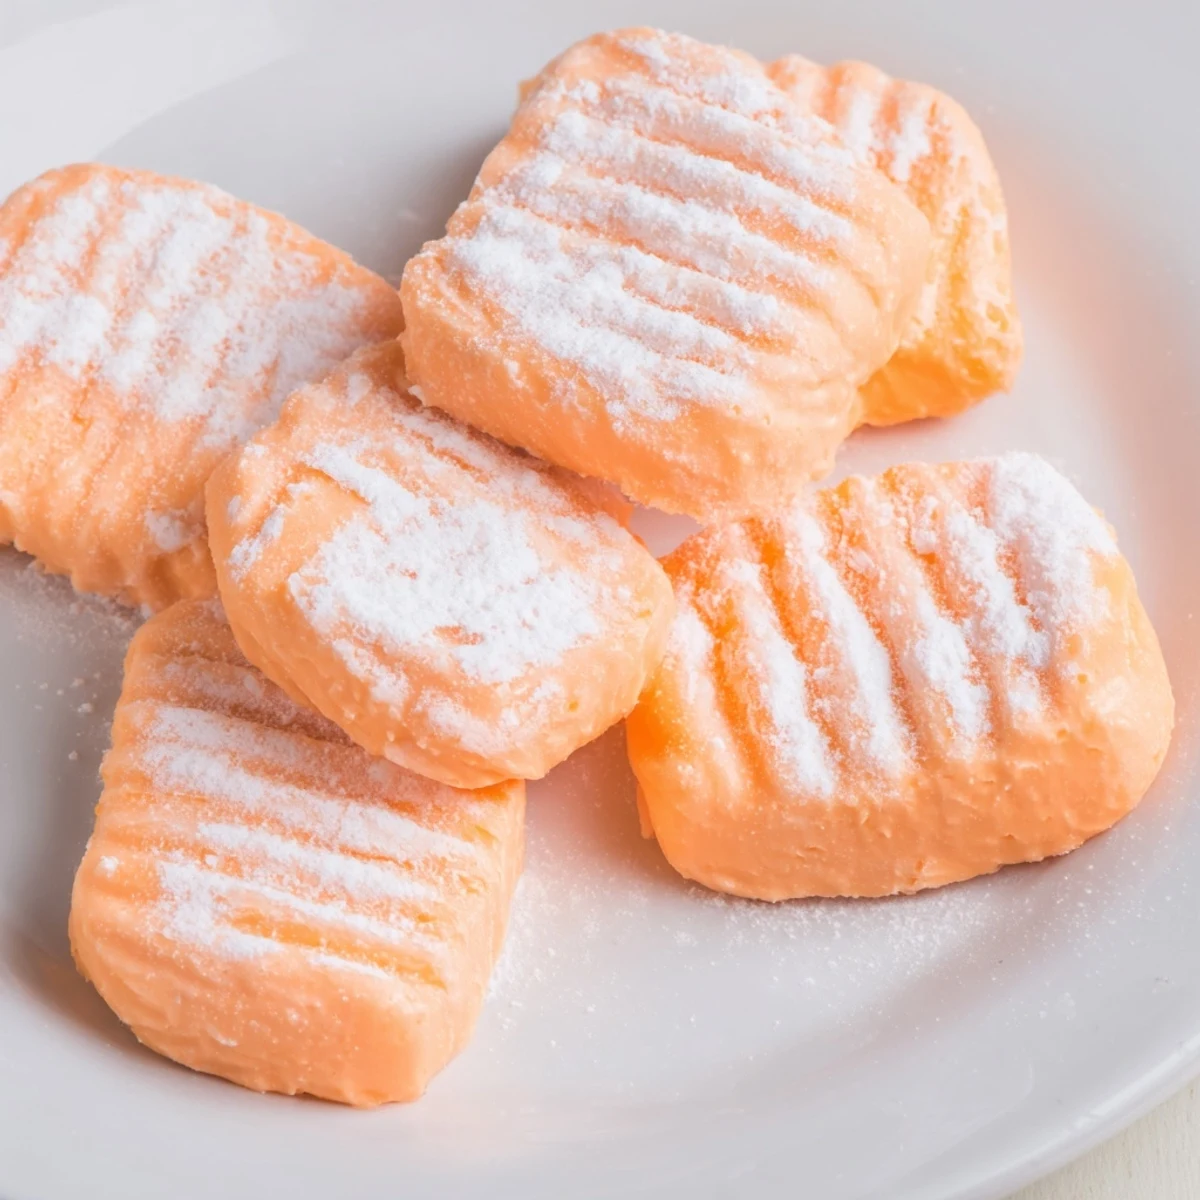
Each mint delivers a refreshing burst of orange followed by the buttery creaminess of the cheese base. They store beautifully in the refrigerator for over a week and can even be frozen for make-ahead convenience. Try pressing decorative patterns with a fork for an elegant finish that looks professional yet tastes homemade.
The first time I made these was the morning of my sister's bridal shower, the kitchen still dark except for the oven light casting long shadows across the counter. I'd promised homemade mints for the favor boxes, convinced it would be a thoughtful touch that said "I care enough to make these with my own hands." Halfway through kneading the soft orange dough, I remember thinking this was either going to be the most thoughtful gift or the biggest kitchen disaster of my life.
My grandmother used to keep a crystal dish of mints on her entry table, and I was fascinated by how something so small could feel like such an occasion. When I started making my own, I realized the magic isn't just the taste—it's that pause, that tiny moment of ceremony when someone picks one up and their shoulders drop just a little. I've made these for baby showers and graduation parties, and somehow they always become the thing people remember most.
Ingredients
- Cream cheese: The softened cheese creates that impossibly smooth texture, but take it seriously about room temperature—cold cream cheese will leave you with tiny lumps that refuse to disappear no matter how long you beat
- Unsalted butter: Just two tablespoons, but they make all the difference in the mouthfeel, turning what could be gritty sugar paste into something that truly melts away
- Orange extract: Pure extract gives the brightest flavor, but if you can only find imitation, start with less and taste as you go—it can get artificial quickly
- Powdered sugar: Sifting might feel unnecessary, but one small lump will streak through your dough like an unwanted visitor, so take the extra two minutes
- Orange food coloring: Start with just one drop—you can always add more, but there's no going back once you've crossed into neon territory
Instructions
- Make the creamy base:
- Beat the softened cream cheese and butter together until you can't tell where one ends and the other begins, about two minutes on medium speed.
- Add the orange essence:
- Pour in the extract and your food coloring, mixing until the color is evenly distributed—scrape the bowl to make sure you're not leaving pockets of white.
- Work in the sugar:
- Add the powdered sugar half a cup at a time, letting each addition disappear before adding the next, until the dough holds together without sticking to your fingers.
- Taste and adjust:
- Now's your moment—if the orange seems shy, add another quarter teaspoon of extract; if it needs more color, one more drop usually does it.
- Shape the mints:
- Dust your counter with powdered sugar and roll the dough into small balls, then press each one gently with a fork to create those classic ridges.
- Let them firm up:
- Arrange the mints on parchment paper and chill them for at least an hour—they need this time to set into something that holds its shape.
 Save
Save Last Christmas, my daughter helped me press the fork patterns into each mint, her small hands making slightly crooked rows that I secretly loved more than my perfect ones. We ended up with powdered sugar everywhere, in her hair and on the dog's nose, and those imperfect mints disappeared faster than any batch I'd ever made. Now when I see that little fork pattern, I think about sticky kitchen counters and someone small beside me.
Getting the Consistency Right
The dough should feel like soft playdough—not sticky, not dry, just yielding to your touch without leaving residue on your fingers. If it's clinging to everything, add another quarter cup of powdered sugar. If it feels stiff and cracks when you roll it, work in a tiny bit of water or another touch of butter.
Making Them Your Own
I've made these with lemon extract for spring parties, peppermint for winter holidays, and even almond extract with pink coloring for a baby shower. The base is so forgiving—it's really just waiting for you to decide what personality you want it to have.
Serving Ideas
These mints work everywhere from wedding buffets to casual coffee dates, tucked into tiny paper cups or scattered on a pretty plate. I've seen them served in crystal bowls at baby showers and packed into mason jars as teacher gifts, and somehow they always feel appropriate.
- Try them alongside dark chocolate truffles—the brightness of orange cuts through the rich chocolate perfectly
- Match the food coloring to your party palette for a pulled-together look without much effort
- Roll them slightly smaller for bite-sized appetizer mints or larger if you want them to feel more substantial
 Save
Save These little orange mints have become my go-to for almost every occasion, mostly because they're the kind of recipe that makes people feel special without demanding anything more than twenty minutes and a willing heart. Sometimes the smallest things in the kitchen are the ones that stay with people longest.
Recipe Questions & Answers
- → How far in advance can I make these mints?
-
You can prepare these orange cream cheese mints up to 1 week in advance when stored in an airtight container in the refrigerator. For longer storage, freeze them for up to 2 months. Allow frozen mints to thaw in the refrigerator before serving.
- → Can I use lemon extract instead of orange?
-
Absolutely! Lemon extract works perfectly in this recipe and creates lovely lemon cream cheese mints. You can also try almond, peppermint, or raspberry extract. The method remains exactly the same regardless of the flavor you choose.
- → Why is my dough too sticky to roll?
-
If the dough feels sticky, gradually add more powdered sugar, about 1 tablespoon at a time, until it reaches a workable consistency. The humidity in your kitchen can affect how much sugar you need. Dusting your hands and work surface with powdered sugar also helps prevent sticking.
- → Can I make these without food coloring?
-
Yes, the mints will be a creamy off-white color without food coloring. They taste just as delicious! You can also use natural alternatives like a pinch of turmeric for yellow, beet juice for pink, or matcha powder for green if you prefer to avoid artificial dyes.
- → What's the best way to get uniform-sized mints?
-
Use a small cookie scoop to portion the dough before rolling. A 1-inch scoop creates perfectly consistent mints. Alternatively, weigh portions of dough on a kitchen scale—aim for about 8-10 grams per mint for uniform sizing that looks professional and bakes evenly.
- → Can I pipe these mints instead of rolling them?
-
Yes! Use a piping bag fitted with a star or round tip to pipe small rosettes or dollops onto parchment paper. The dough should be slightly softer for piping—reduce the powdered sugar slightly. This method creates beautiful, decorative mints perfect for fancy events.