 Save
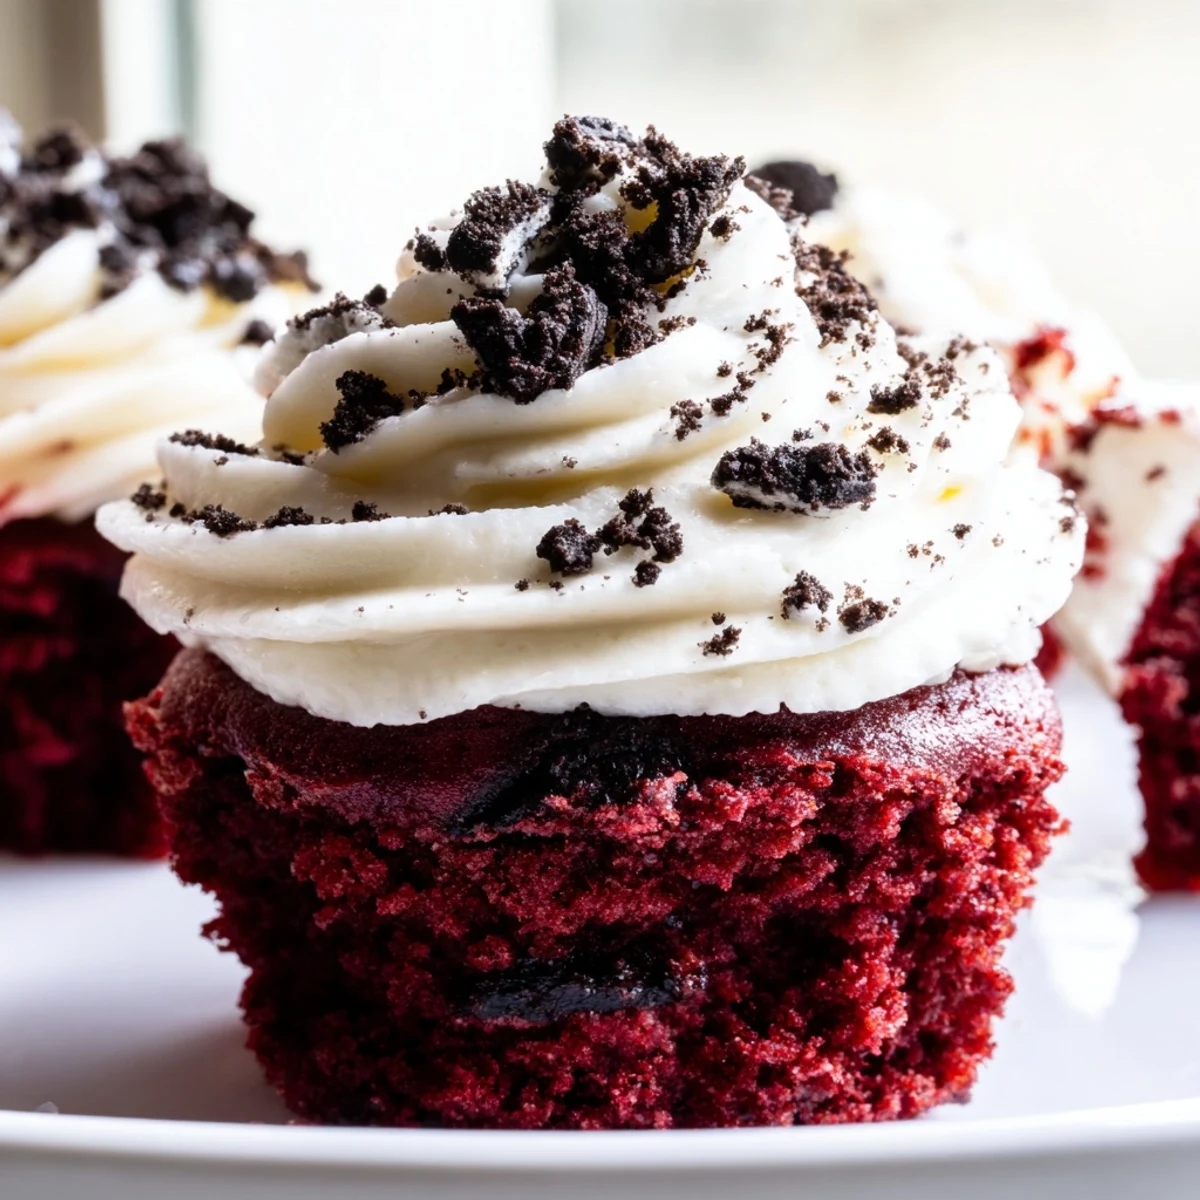
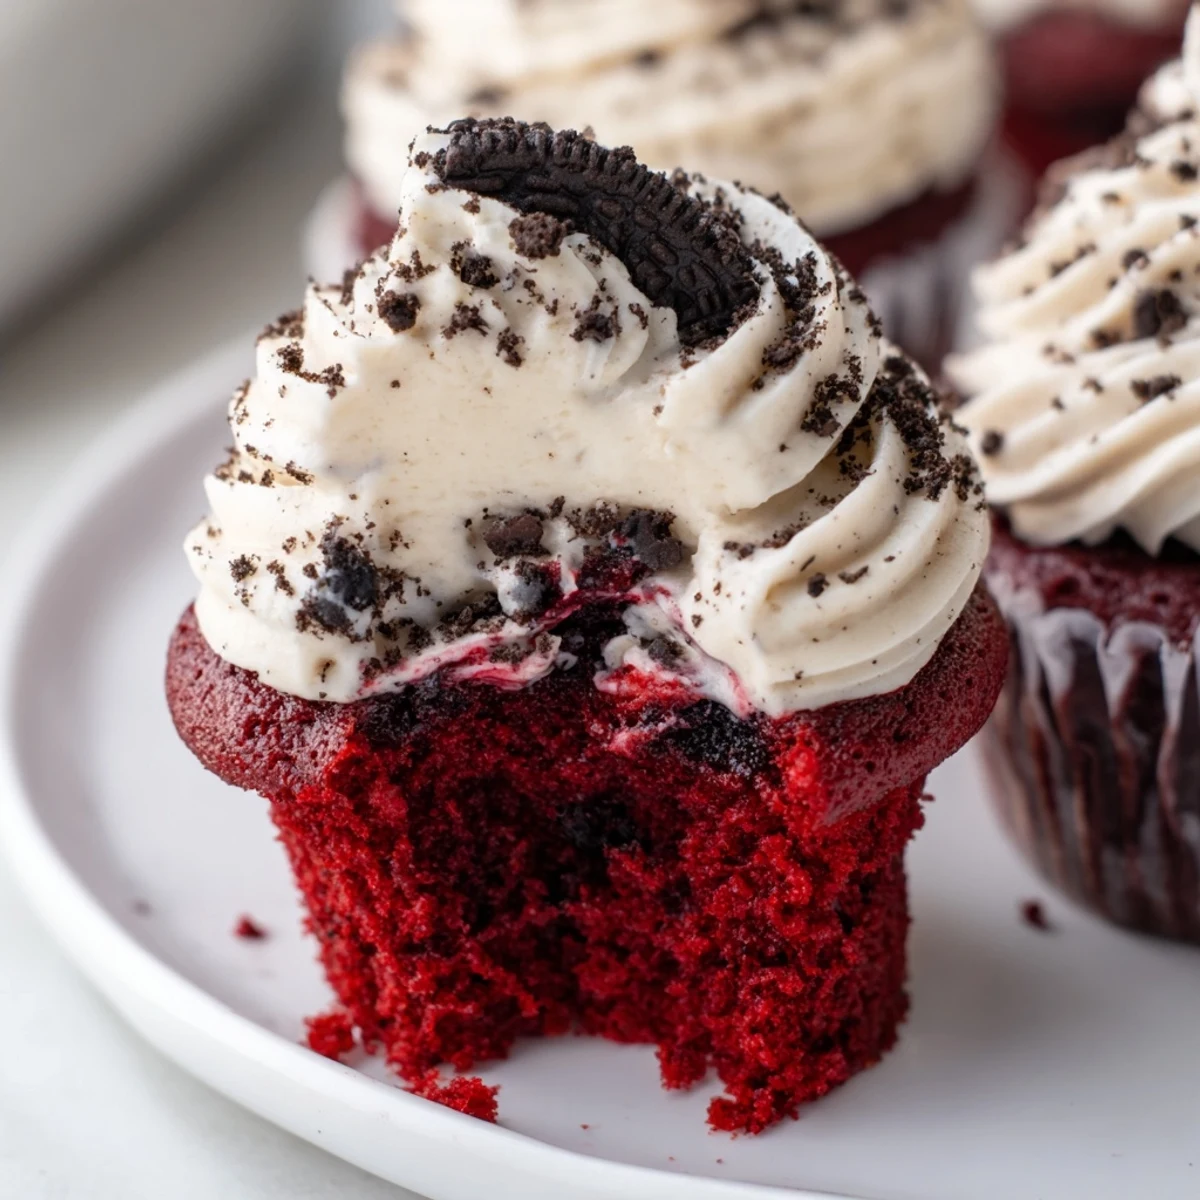
Save These red velvet Oreo cupcakes combine a tender, cocoa-infused red velvet batter with chunks of real Oreo cookies baked right in. Topped with a luscious cream cheese frosting loaded with finely crushed Oreos, they deliver the perfect balance of tangy, sweet, and chocolaty in every bite.
Ready in just 40 minutes with 20 minutes of prep and 20 minutes in the oven, they yield a dozen beautifully rich cupcakes ideal for birthdays, holidays, or anytime you want to impress. The buttermilk and vinegar keep the crumb incredibly soft, while the gel food coloring gives that signature deep red hue.
My kitchen looked like a crime scene the first time I made red velvet anything, bright red batter smeared on the counter, the spoon, my favorite apron. But those cupcakes vanished so fast at my friends potluck that nobody even noticed the chaos. Now I double the batch every time because people act personally offended when there arent seconds.
My neighbor walked in while I was piping frosting onto these and stood speechless for a solid ten seconds before grabbing one without asking. We ended up sitting on the kitchen floor eating cupcakes and talking until midnight, which is honestly the highest compliment any recipe can receive.
Ingredients
- All-purpose flour (1 1/4 cups, 160 g): Spoon and level it rather than scooping directly, or you will end up with dense cupcakes that never forgive you.
- Unsweetened cocoa powder (3 tbsp, 25 g): Just enough to give depth without turning these into chocolate cupcakes pretending to be something else.
- Baking soda (1/2 tsp): It works with the vinegar to give lift, so do not skip either one.
- Salt (1/4 tsp): A small amount that makes the sweetness taste more balanced and intentional.
- Vegetable oil (1/2 cup, 120 ml): Oil keeps these softer than butter would, and they stay that way even after a night in the fridge.
- Granulated sugar (3/4 cup, 150 g): Not overly sweet, which lets the cream cheese frosting shine without cloying repetition.
- Large egg (1, room temperature): Let it sit out for twenty minutes so it blends smoothly into the batter.
- Buttermilk (1/2 cup, 120 ml, room temperature): The secret to that velvety texture, and a gentle acid that reacts beautifully with baking soda.
- Red food coloring gel (1 tbsp): Gel is far more concentrated than liquid, so you get bold color without thinning the batter.
- Pure vanilla extract (1 tsp for cupcakes, 1 tsp for frosting): Use the real stuff here, imitation vanilla muddies the flavor.
- Distilled white vinegar (1/2 tsp): It sounds odd but this little kick of acid is what makes the crumb tender and light.
- Oreo cookies (10 chopped for batter, 6 finely crushed for frosting): I freeze them for ten minutes before chopping so the cream filling does not smear everywhere.
- Unsalted butter (1/2 cup, 115 g, softened): For the frosting only, and it must be truly soft or you will get lumps.
- Cream cheese (8 oz, 225 g, softened): Full fat is nonnegotiable here, low fat cream cheese makes runny frosting that slides off.
- Powdered sugar (2 cups, 250 g, sifted): Sifting removes clumps and gives you a silky frosting without grit.
Instructions
- Preheat and prepare:
- Set your oven to 350°F (175°C) and line a 12-cup muffin tin with liners. This small step of preparation saves you from scrambling later with batter ready and nowhere to put it.
- Whisk the dry team:
- In a medium bowl, whisk together the flour, cocoa powder, baking soda, and salt until evenly combined. Set it aside and admire the pale brown color before the red takes over.
- Build the wet mixture:
- In a large bowl, beat the oil and sugar together until they look like wet sand. Add the egg, buttermilk, red food coloring, vanilla, and vinegar, then mix until you have a vivid magenta liquid that stains everything it touches.
- Marry wet and dry:
- Gradually pour the dry ingredients into the wet mixture, stirring gently and stopping the moment no dry flour is visible. Overmixing is the enemy of tender cupcakes, so show some restraint.
- Fold in the Oreos:
- Gently fold the chopped Oreos into the batter with a spatula, distributing them evenly without crushing them into dust. You want recognizable chunks that bake into chewy surprises.
- Fill and bake:
- Divide the batter evenly among the liners, filling each about two thirds full, then bake for 18 to 20 minutes. A toothpick inserted in the center should come out clean, not wet, with just a few moist crumbs clinging to it.
- Cool completely:
- Let the cupcakes rest in the pan for five minutes, then transfer them to a wire rack. They must be completely cool before frosting or your beautiful cream cheese swirl will melt into a sad puddle.
- Make the frosting:
- Beat the softened butter and cream cheese together until completely smooth and creamy. Add the sifted powdered sugar and vanilla, beating until fluffy, then gently fold in the finely crushed Oreos by hand so the frosting stays light.
- Finish and garnish:
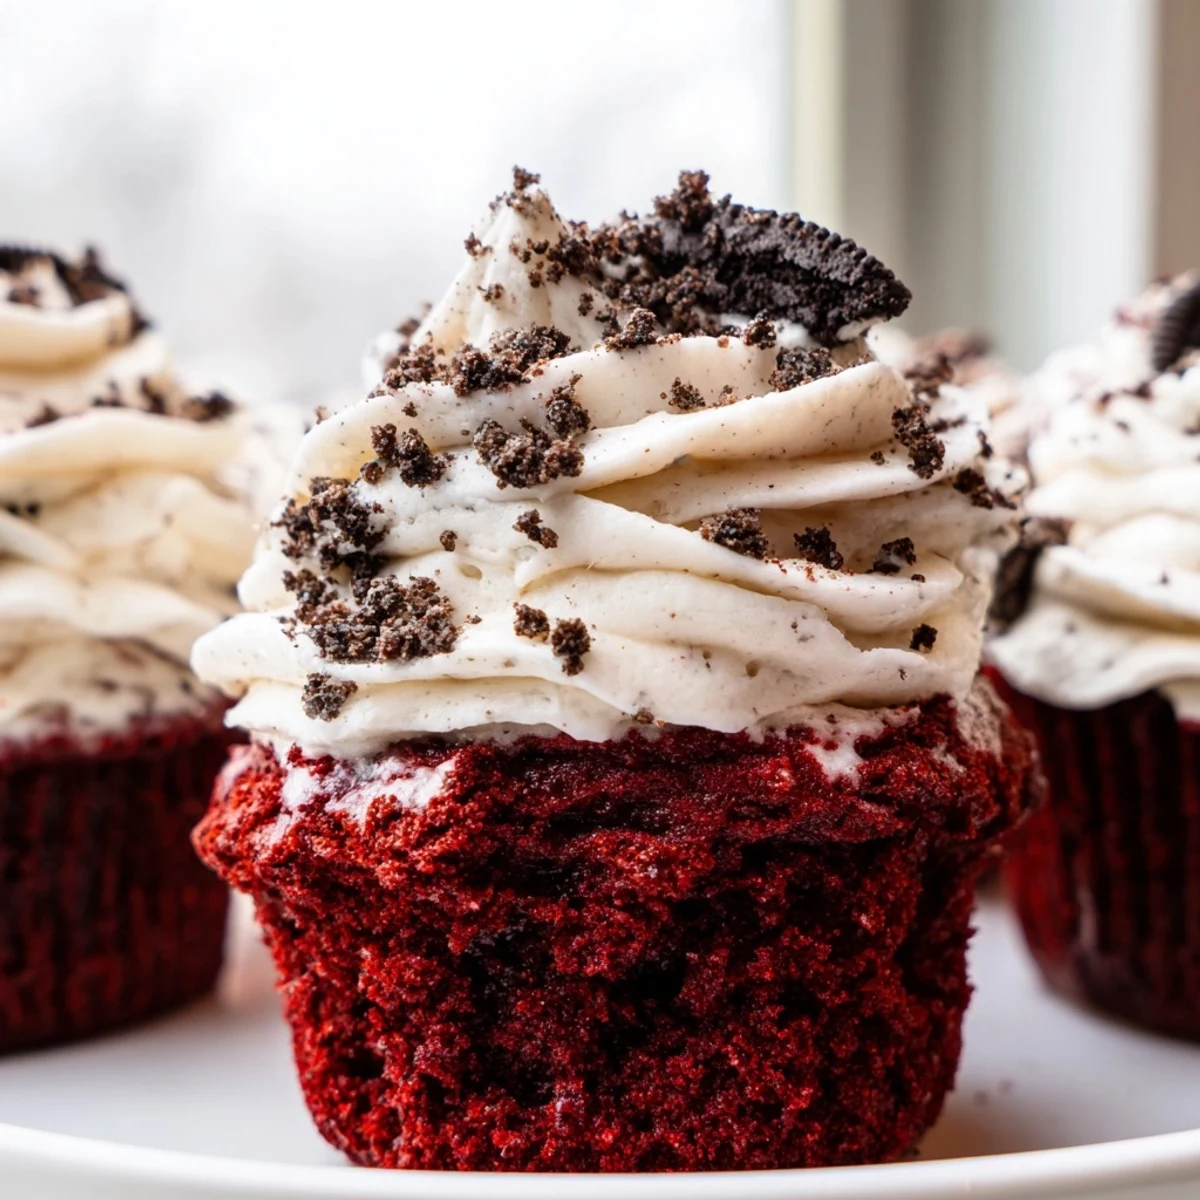
- Pipe or spread the frosting generously onto each cooled cupcake. Sprinkle extra Oreo crumbs on top if you want that bakery window look that makes people lean in closer.
 Save
Save I brought a tray of these to my daughters school bake sale and watched a quiet third grader eat two in under five minutes without coming up for air. His mother asked me for the recipe on the spot, and now they make them together every birthday.
Getting the Red Color Right
The color of red velvet is half the experience, and getting it wrong leaves people confused about what they are eating. Gel food coloring is dramatically more potent than liquid, so one tablespoon of gel delivers a deep crimson that liquid simply cannot match. If you only have liquid coloring available, you may need two or three times as much, but this can alter the batter consistency and throw off the texture.
Mixing Without Overmixing
The biggest mistake I see people make with cupcakes is treating the batter like bread dough and stirring with enthusiasm. Once the flour hits the wet ingredients, gluten starts developing, and every extra stroke makes the final product tougher. Fold gently, stop early, and trust that a few small lumps will disappear during baking.
Serving and Storing
These cupcakes keep beautifully in an airtight container in the refrigerator for up to four days, and the cold actually improves the frosting. Let them sit at room temperature for fifteen minutes before serving so the cake softens back up.
- Always store them in the fridge because cream cheese frosting is perishable and spoils quickly at room temperature.
- If you want to freeze them, wrap unfrosted cupcakes individually in plastic wrap and thaw overnight in the fridge before frosting.
- Never stack frosted cupcakes without a container or parchment between layers, or the tops will smear and look messy.
 Save
Save Some recipes are just food, but these cupcakes have a way of turning ordinary afternoons into small celebrations. Bake them once and they will become the thing everyone asks you to bring.
Recipe Questions & Answers
- → Can I make these cupcakes ahead of time?
-
Yes, you can bake the cupcakes a day in advance and store them in an airtight container at room temperature. Frost them on the day of serving for the freshest presentation and texture.
- → Why is buttermilk used in red velvet batter?
-
Buttermilk adds tanginess and reacts with baking soda to create a lighter, more tender crumb. Combined with vinegar, it helps maintain the signature soft texture that red velvet is known for.
- → Can I use liquid food coloring instead of gel?
-
Gel food coloring is preferred because it delivers a more vibrant red without adding extra liquid to the batter. If using liquid coloring, you may need more drops, but be careful not to thin out the batter too much.
- → How should I store leftover cupcakes?
-
Store frosted cupcakes in the refrigerator in an airtight container for up to 3 days. Let them sit at room temperature for about 15 minutes before serving so the frosting softens and the flavors come through.
- → Can I make these gluten-free?
-
Absolutely. Substitute the all-purpose flour with a 1-to-1 gluten-free baking blend and use gluten-free chocolate sandwich cookies in place of traditional Oreos. Texture may vary slightly but the flavor remains excellent.
- → What's the best way to crush Oreos for the frosting?
-
Place the cookies in a zip-top bag and crush them with a rolling pin or pulse them in a food processor. For the frosting, you want a fine crush so it pipes smoothly, while for the batter, rough chunks add great texture.